
Last updated October 15, 2026
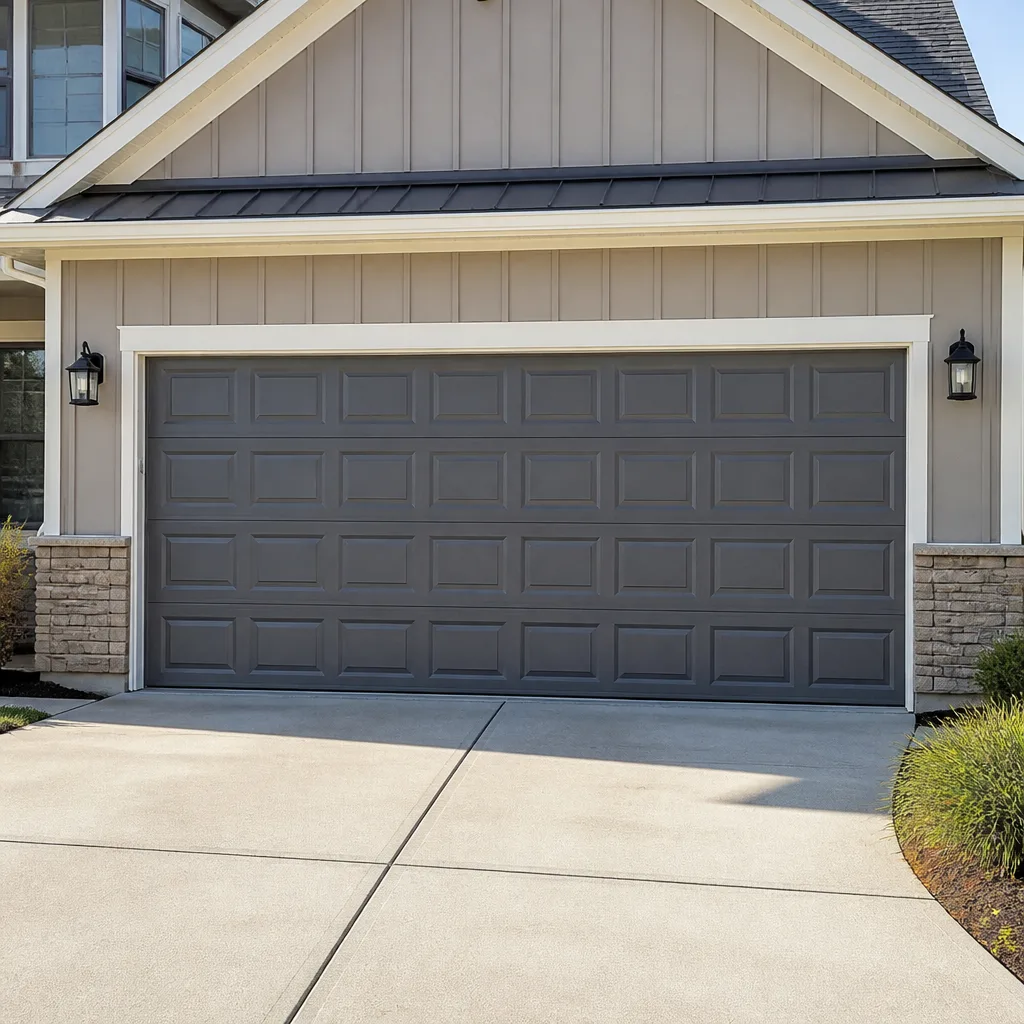 Raised-panel steel
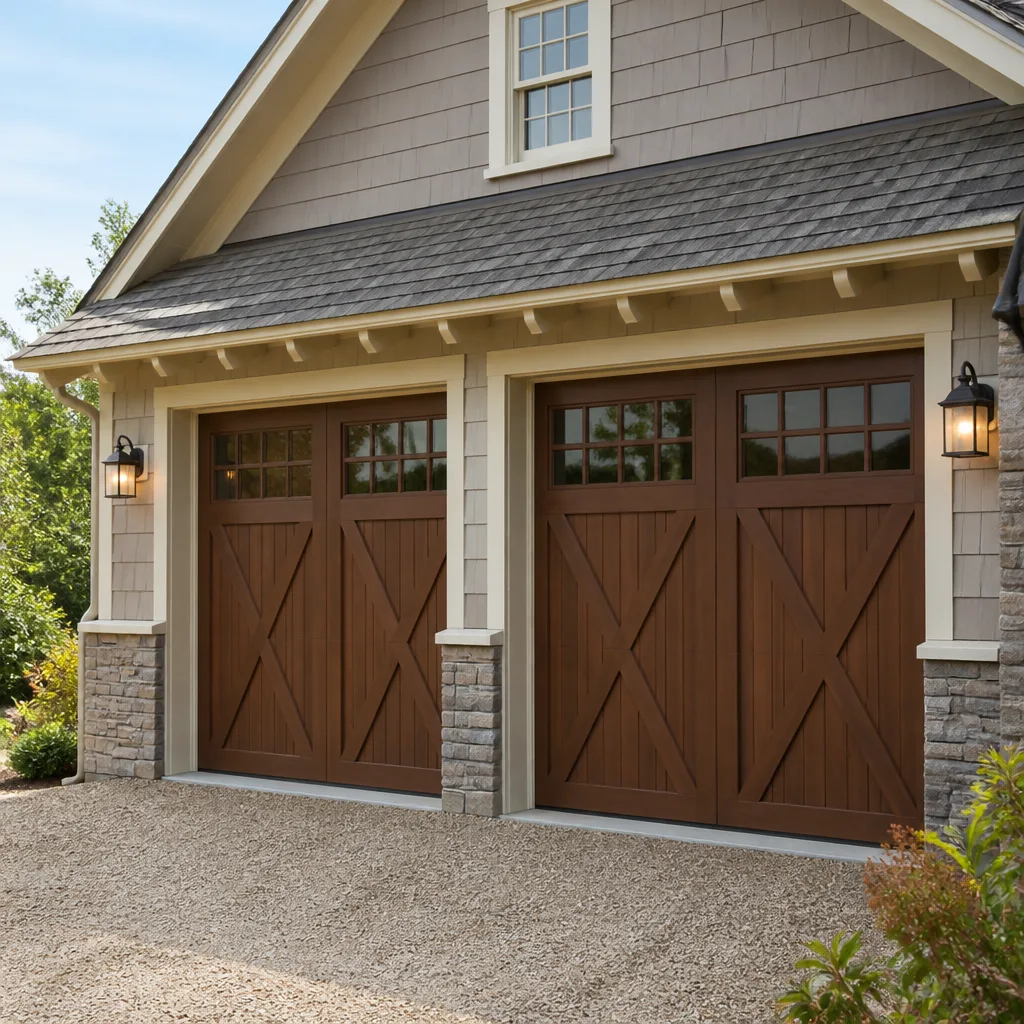 Carriage house
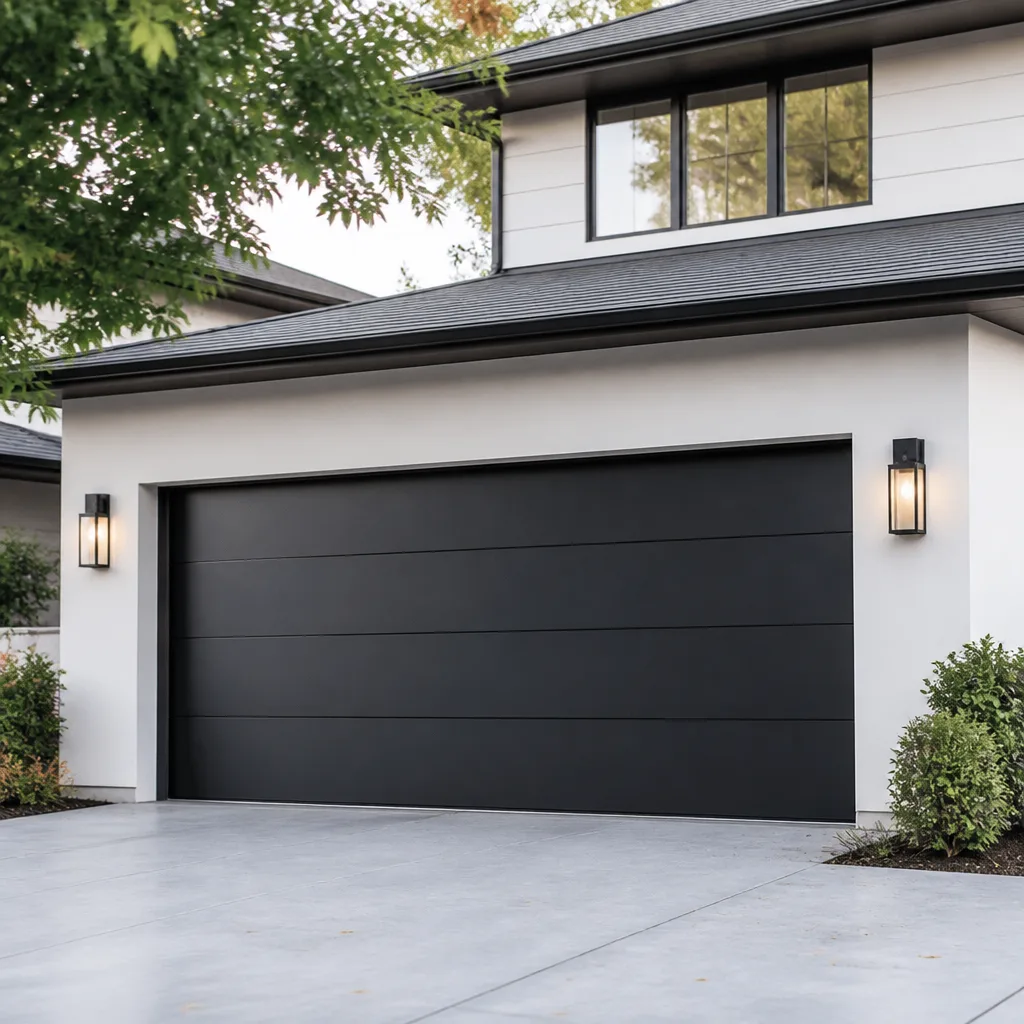 Modern flush
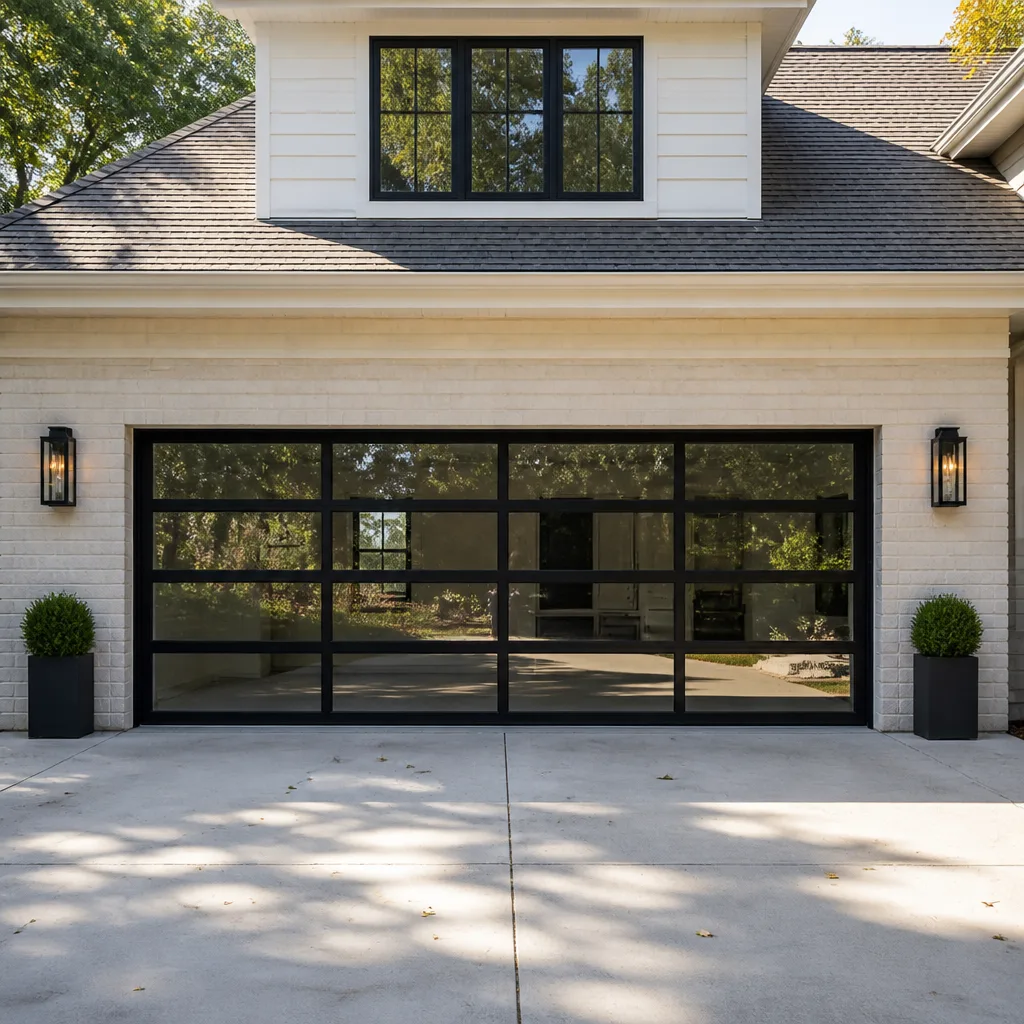 Full-view glass
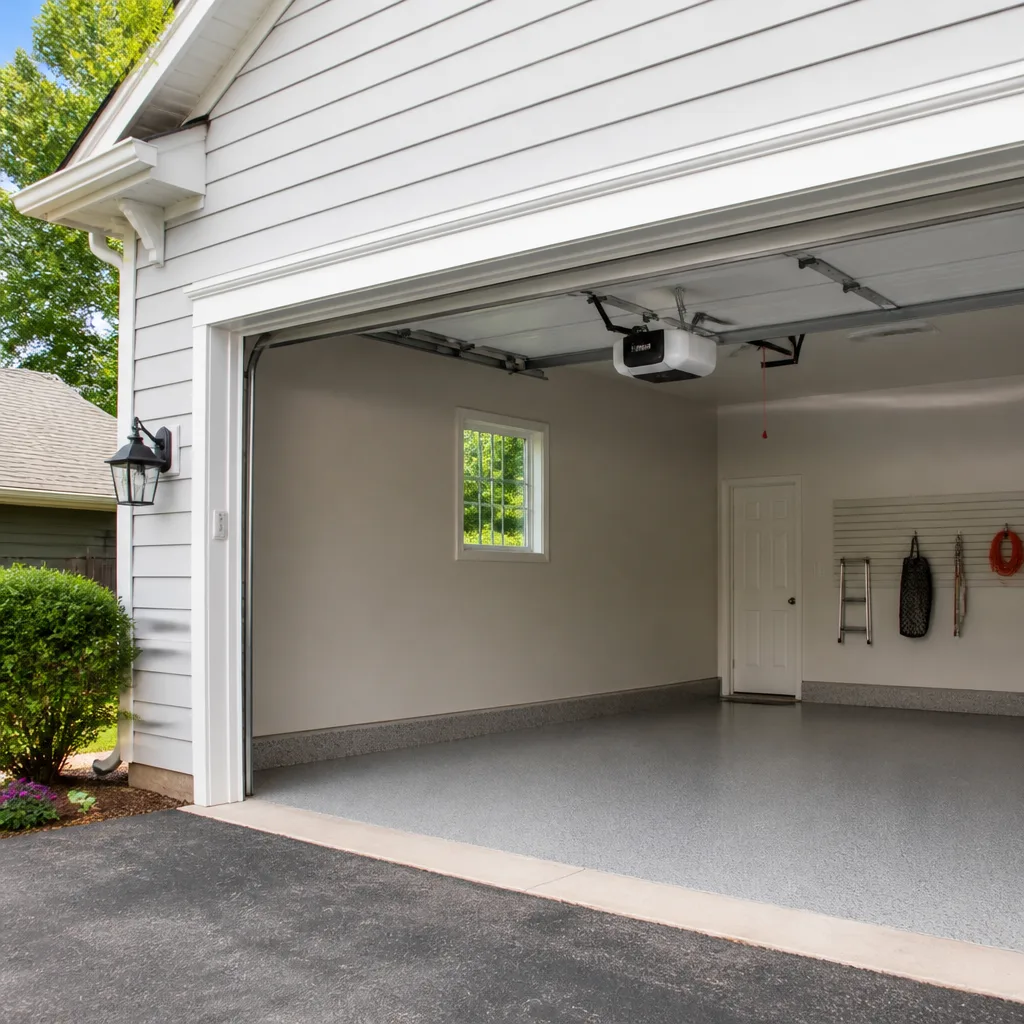 LiftMaster openers
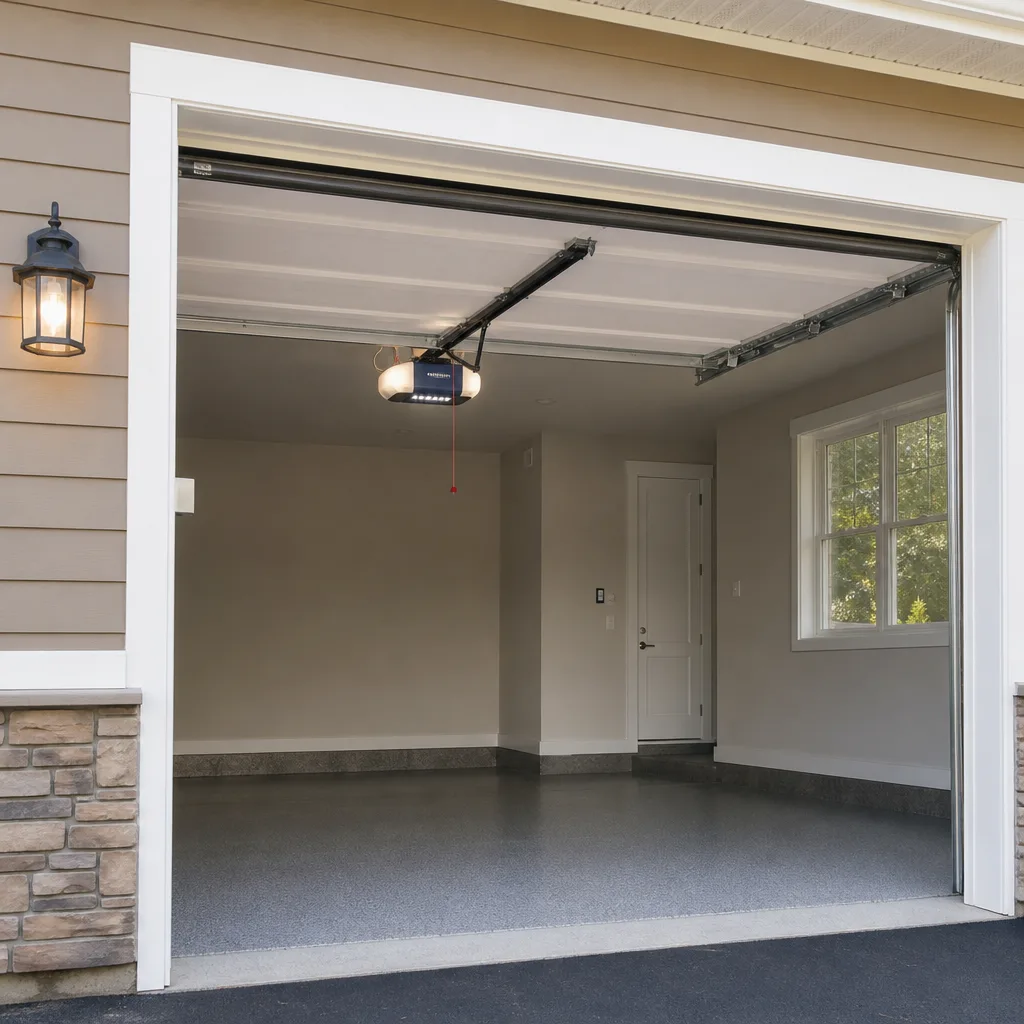 Chamberlain openers
Full 25-point door and opener safety check with every visit - springs, cables, rollers, tracks, and your LiftMaster or Chamberlain opener included
You get a price before we start. It does not change when the truck arrives.
Get your free estimateGarage Door Repair Maintenance Checklist for Los Angeles Homeowners
Most maintenance checklists fail Los Angeles homeowners because they’re written for a generic suburban garage in Ohio. They tell you to “lubricate moving parts” and leave it at that. What they don’t tell you is that the wrong lubricant on a torsion spring does more damage than no lubricant at all, or that a garage door in Culver City ages differently than one in Pasadena. This guide walks through each part of your door, what it actually needs, when it needs it, and what failure looks like when you skip a step. We’ve maintained garage doors across Los Angeles since 2001, and the doors that last longest all have one thing in common: the homeowner did the right checks at the right time. Here is the full checklist, calibrated for how Los Angeles weather actually affects your door.
Styles & brands we work with
Quick Answer
A garage door maintenance checklist for Los Angeles homeowners should cover seven parts: torsion springs (inspect, do not lubricate), cables (inspect for fraying), rollers (clean and lubricate with silicone only), hinges (lubricate), the opener trolley and rail, the limit switch, and the safety sensors. Run through the full checklist every six months, or every three to four months if you live within five miles of the coast. Expect to spend about 45 minutes and $15 – $30 on materials if you do it yourself, and call our Garage Door Repair services the moment you see a frayed cable or a gap in a spring coil.
Table of Contents
- The WD-40 Problem: What Los Angeles Homeowners Get Wrong First
- Tools and Materials You Actually Need
- The Door Balance Test: How to Do It and What Passing Looks Like
- Part-by-Part Maintenance: Springs, Cables, Rollers, Hinges, Trolley, Sensors
- Coastal vs. Inland: Why a Culver City Door Needs More Attention Than a Pasadena Door
- The Bottom Seal: What That Painted Strip Is Hiding
- What You Can Do Yourself vs. What Requires a Pro
- Common Mistakes to Avoid
- When to Call a Professional
- Frequently Asked Questions
- The Bottom Line
The WD-40 Problem: What Los Angeles Homeowners Get Wrong First
WD-40 on a garage door torsion spring is one of the most common homeowner mistakes in Los Angeles. It feels like the right move: the spring is metal, it squeaks, you spray it. But WD-40 is a solvent and a water displacer, not a lubricant. It strips the factory coating on the spring that keeps corrosion out. In a city where most garages see morning coastal fog or afternoon sun baking the door, that stripped coating accelerates rust and shortens the spring’s life. Once the protective layer is gone, the spring fails sooner, and a broken torsion spring means the door won’t lift at all.
The rule is simple: torsions springs get inspected, never lubricated. We cover exactly what to look for in the part-by-part section below. For everything else on the door, use a white lithium grease or a silicone-based garage door lubricant, never a general-purpose spray.
We spell this out because a homeowner who maintains a door correctly gets roughly twice the life out of the hardware, and in Los Angeles, that means the difference between a spring lasting seven years and one failing at four. It’s the highest-leverage thing on this entire checklist.
Tools and Materials You Actually Need
You don’t need a workshop to maintain a garage door, but you do need the right three or four things. Most Los Angeles garages we service have a shelf of half-empty spray cans, and half of them are the wrong product. Set aside $15 – $30 once, and the supplies last two to three maintenance cycles.
- White lithium grease or silicone-based garage door lubricant – $8 – $14 at any hardware store. This is for rollers, hinges, and the opener rail. It goes on light. One thin pass is enough.
- Clean cotton rags – you’ll use more of these than you expect, especially on the rail and the bottom seal.
- Step ladder – for reaching the opener rail and the top roller brackets. A 4-foot ladder works in most Los Angeles garages, which tend to run 7 to 8 feet in ceiling height.
- Flathead screwdriver – for nudging the bottom seal out of its track when you inspect it.
- Flashlight or headlamp – garages in older Los Angeles neighborhoods often have a single bulb, and you need to actually see the cable drums and spring coils.
The whole checklist takes about 45 minutes the first time. Once you know where each part is and what good looks like, the next round takes 25 minutes.
The Door Balance Test: How to Do It and What Passing Looks Like
This is the single most useful diagnostic a homeowner can run, and most checklists skip it because it’s slightly involved. It takes four minutes and tells you whether your springs are doing their job. If the door fails this test, the springs are worn, and no amount of lubricant fixes that.
Here’s the step-by-step:
- Close the door fully. Pull the red emergency release cord on the opener to disconnect the trolley from the door. The door is now operating manually.
- Lift the door by the handle to waist height. It should move smoothly, without jerking, and it should stay in place when you let go.
- Lift it to eye height and let go again. A properly balanced door holds position. It may drift an inch or two, but if it slides down or shoots up, the springs are not correctly tensioned.
- Lower it back to waist height, then let go. A passing door stays put. A door that drops is under-sprung. A door that rises is over-sprung.
- Reconnect the opener. Pull the release cord toward the door and run the opener until the trolley re-engages. You’ll hear a click when it seats.
A passing result is a door that stays wherever you leave it in the middle of its travel. A door that creeps, falls, or climbs means the springs have lost tension and need adjustment or replacement. In Los Angeles, spring replacement typically runs $150 – $280 for a torsion spring pair, parts and labor included. Don’t attempt to adjust the springs yourself; they’re under extreme tension and are the one part of the door that can cause serious injury if mishandled.
Part-by-Part Maintenance: Springs, Cables, Rollers, Hinges, Trolley, Sensors
Here is the actual checklist, part by part. Each item tells you what to do, what not to do, and what failure looks like when the step is skipped.
Torsion Springs: Inspect Only
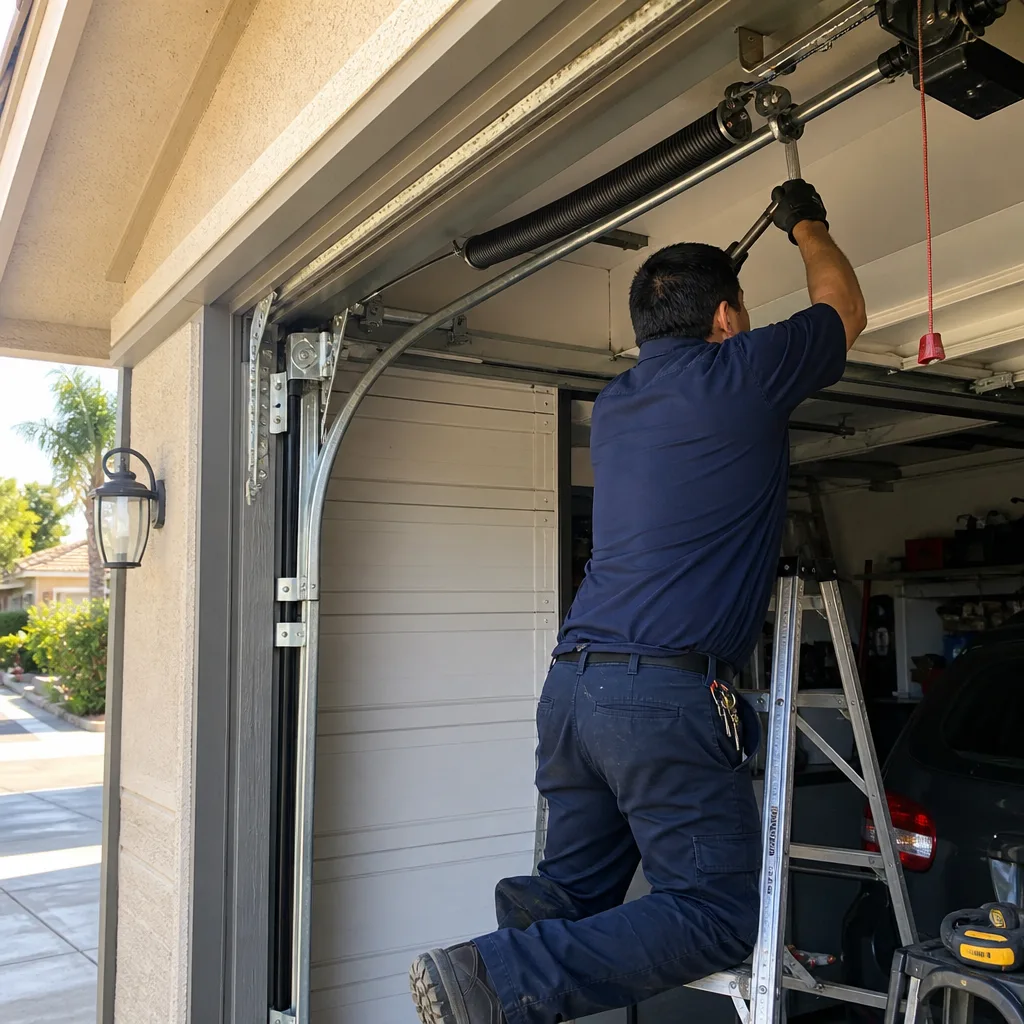
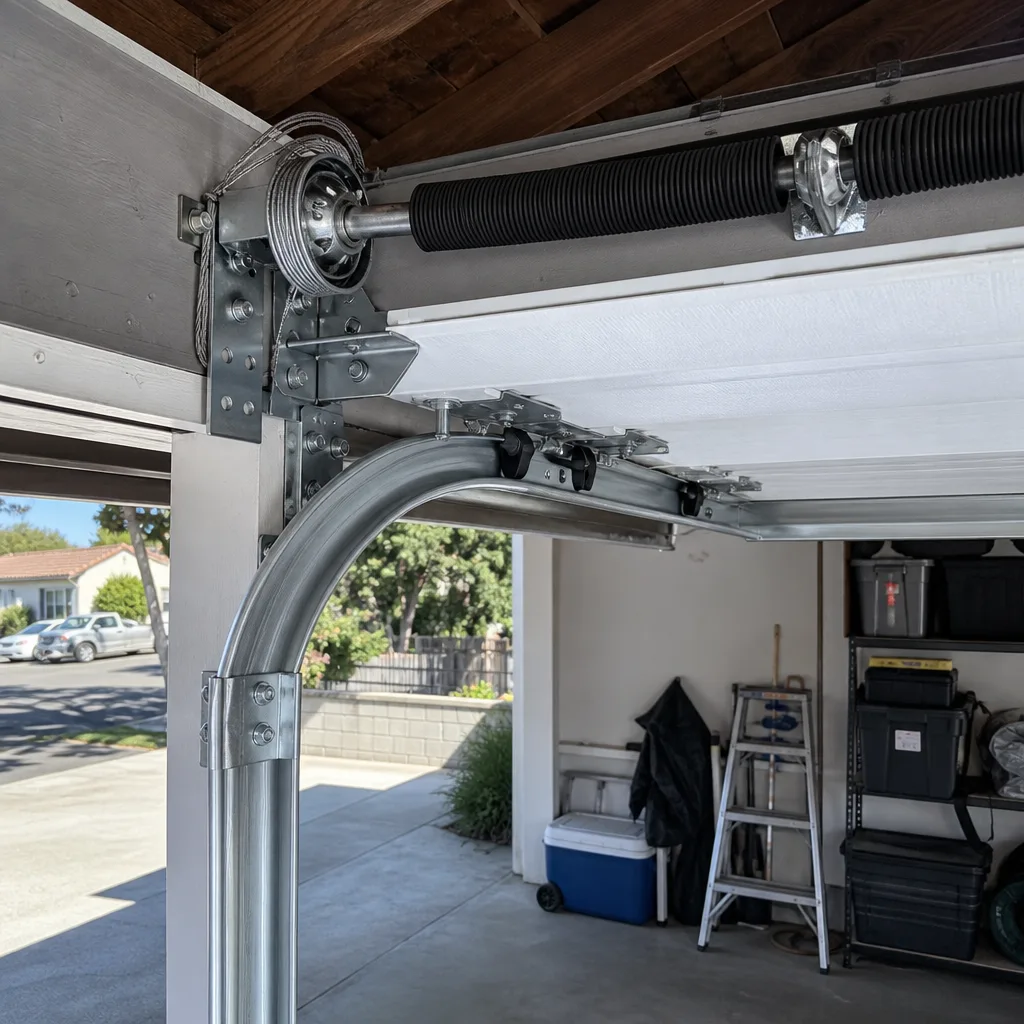
The torsion spring is the heavy coil mounted on a metal bar above the door. It handles most of the lifting weight. Inspect it twice a year for two things: an even coil pattern across the full length of the spring, and a clean, unbroken surface. If you see a gap anywhere in the coil, the spring has begun to separate and needs replacement. If you see rust, orange streaks, or pitting, the spring is degrading. Do not spray anything on it. A dry, clean spring is a healthy spring. We replace more springs in Los Angeles in March and April than any other time, because the winter moisture cycle has worked its way into any compromised spring coating.
Cables: Look, Don’t Touch
The lift cables run vertically along each side of the door and wrap around a drum at the top. They carry the door’s full weight when the spring helps lift it. Check for frayed strands, kinks, or a cable that’s winding unevenly on the drum. If you see any broken strands, stop using the door and call a professional the same day. A worn cable under load can snap without warning, and when a cable goes, the door can drop hard to one side. This is second only to springs in the danger category.
Rollers: Clean, Then Lubricate
Rollers sit in the track on each side of the door. Nylon rollers with sealed bearings need no lubrication. Steel rollers need a thin shot of silicone lubricant on the roller bearing once or twice a year, and the track itself stays dry. Do not grease the track; grease collects grit, and grit wears the rollers faster. If a roller is cracked, chipped, or wobbles in the track, it’s a $15 – $25 part that a technician can swap in minutes.
Hinges: A Light Coat, Nothing More
The hinges connect the door panels and flex every time the door cycles. They take a small amount of white lithium grease on the pivot point, applied once a year. Wipe away any excess. A hinge that’s dry will creak, and a hinge that’s been over-lubricated will drip onto the door face and attract dust from the dry Los Angeles air.
Opener Trolley and Rail: Clean and Re-Lubricate
The trolley is the carriage that moves along the rail above the door, driven by the opener. Wipe the rail with a clean rag to remove old grease and dust, then apply a thin, even bead of white lithium grease along the rail. Don’t overdo it; a heavy coat becomes a magnet for the fine dust that settles in every Los Angeles garage. On chain-drive openers, check the chain tension: it should have about a half-inch of give when pressed. Belt-drive openers don’t need that check.
The Limit Switch: Watch the Travel
The limit switch tells the opener how far to move the door. You test it by running the door through a full open-and-close cycle and watching the bottom of the door. The door should sit flush on the floor when closed, with no gap and no crushing of the bottom seal. If the door reverses before reaching the floor or keeps running after it touches down, the limit setting is off. Adjusting it is usually a small screw on the opener unit, but the exact location varies by brand, including Chamberlain and Genie openers. If you’re not sure, a technician can set it correctly in one visit and show you how it works.
Safety Sensors: The Two-Second Test
The photo eyes sit low on each side of the door opening, about six inches off the floor. They project an invisible beam, and if the beam is broken while the door is closing, the door reverses. Test them by pressing the close button and passing your foot through the beam path. The door should stop and reverse immediately. If it doesn’t, clean the sensor lenses with a dry cloth and check that they’re aligned, facing each other squarely. A sensor that’s been bumped out of alignment by a bicycle, a garbage can, or a delivery box is a common call for us in Los Angeles garages where space is tight and the door area doubles as storage.
If you’d rather have a professional run through these checks and document what’s on its way out before it fails, that’s exactly what the team at Garage Door Repair in Los Angeles does on a service visit.
Coastal vs. Inland: Why a Culver City Door Needs More Attention Than a Pasadena Door
Los Angeles isn’t one climate. It’s at least three, and each one wears garage hardware differently. The difference matters because the same maintenance schedule doesn’t fit a house in Culver City and a house in Pasadena.
Within about five miles of the coast, the air carries salt and the mornings bring a marine layer that deposits moisture on metal. That moisture sits on springs, cables, and roller bearings for hours each morning, then the day warms and the cycle repeats. In Culver City, Santa Monica, Playa del Rey, and El Segundo, we see corrosion on uncoated hardware two to three years sooner than inland. The fix is frequency: run the full checklist every three to four months instead of every six, and be more aggressive about wiping down the cables and spring mounting hardware with a dry cloth on every pass.
Inland, the story flips. Pasadena, Glendale, Burbank, and the San Fernando Valley run hot and dry. Metal doesn’t corrode as quickly, but the dry air accelerates a different problem: lubricant dries out and turns gummy. Grease that starts as a film becomes a paste that collects grit from the air and grinds against the moving parts. Inland homeowners should stick to the six-month schedule, but pay extra attention to the rail and hinges, where old lubricant builds up fastest.
The middle band – Mid-City, West Adams, Koreatown, and most of the central basin – splits the difference. Run the schedule every five months, and use your eyes: if you see powder-white corrosion starting anywhere, go coastal-frequency.
The Bottom Seal: What That Painted Strip Is Hiding
The rubber weatherstrip along the bottom of the door is the least glamorous and most ignored part of any garage door in Los Angeles, and it does three jobs at once: it keeps water out during winter rains, it keeps the garage floor from becoming a highway for pests, and it tells you whether the door is closing evenly. Older Los Angeles homes often have a bottom seal that’s been painted over by a previous owner or a handyman, and the paint hides the cracking until the seal has already failed.
Inspect the seal by looking at the contact point where it meets the concrete. You should see a continuous, uninterrupted press along the full width. If daylight sneaks under one corner, the seal is either worn or the door isn’t closing level, and the two problems require different fixes. Run your finger along the underside of the seal. A healthy seal feels pliable. A dry, cracked, or stiff seal is at the end of its life and lets water, dust, and insects through. In Los Angeles, where rodent pressure in older neighborhoods is real and winter rains can send a sheet of water across a driveway toward the garage, a failed seal is a bigger problem than it looks.
Replacing a bottom seal is a $60 – $120 job in most cases, including the new seal and the labor to fit it to the door. The job is sizeable on a heavy wood door and quicker on a steel or aluminum door, and it matters more than most homeowners expect: a garage that stays dry and sealed stays warmer in winter and keeps out the bugs that Los Angeles garages attract.
We go deeper into door replacement and seal options on our Garage Door Installation in Los Angeles page if you want the full picture of what a new bottom seal or full door replacement involves.
What You Can Do Yourself vs. What Requires a Pro
Here’s the honest split. Most of this checklist is DIY, but there are two things that never are, and knowing the line keeps you safe and keeps the door working; for help choosing a pro, read How to Hire a Garage Door Contractor in Los Angeles: A Step-by-Step Guide.
You can do: the balance test, cleaning and lubricating rollers and hinges, cleaning the opener rail, testing the safety sensors, checking the limit switch travel, inspecting the bottom seal, wiping down cables and springs, and checking for rust or wear on the mounting hardware. All of that is safe with the door closed and the opener unplugged, and none of it requires specialized tools.
You should never do: adjusting, removing, or replacing a torsion spring, and replacing a lift cable. The spring is under enough tension to cause severe injury if it breaks free while you’re working on it, and the cable is under full door weight the moment the spring comes off. Both jobs require training, the correct winding tools, and the judgment to know when a part looks questionable. Call a pro for either one.
Realistic time: the full DIY checklist is a 45-minute job, and about 35 of those minutes are the first pass. Tools are minimal. If a part needs replacing, like a roller or the bottom seal, a technician can normally do it in one visit and often carries the common parts on the truck. For spring issues specifically, see our Garage Door Spring Repair in Los Angeles page for what replacement involves and how it’s priced.
Common Mistakes to Avoid
- Lubricating the torsion spring. This strips the factory coating and invites corrosion. The spring gets inspected, never sprayed.
- Greasing the track. Grease in the track collects dust and grinds against the rollers. The track stays dry; the roller bearings get the lubricant.
- Skipping the balance test because the opener still works. The opener masks spring wear because it’s doing extra work. A door that passes the balance test is a door whose springs are still doing their share.
- Ignoring a frayed cable because it still lifts. A cable with broken strands can snap under load, and when it goes, it goes fast. This is a stop-using-the-door moment.
- Neglecting the bottom seal because it’s out of sight. The seal is the first line against water, dust, and pests, and a Los Angeles garage without a healthy seal is a garage that invites problems in.
- Using whatever spray is on the shelf. General-purpose sprays and penetrating oils aren’t garage door lubricants. White lithium or silicone only.
- Putting off a limit switch adjustment for months. A door that slams or doesn’t close fully is working against its own hardware, and the wear compounds.
When to Call a Professional
Call a professional the day you see a gap in a spring coil, a frayed cable, a door that fails the balance test, or a sensor that won’t stay aligned. Those are not maintenance items; they’re repair items, and delaying them turns a $200 fix into a $500 one. If the door has been in service for more than a decade and you’re chasing one problem after another, a technician can also give you an honest read on whether repair or replacement makes more sense; see Garage Door Warning Signs: A Los Angeles Homeowner’s Reference Guide for what to watch for.
Bramwell Garage Doors Los Angeles offers free estimates in Los Angeles – call (213) 996-0290 and a live person answers, 24 hours a day. Every visit includes a written price before any work starts, background-checked technicians in uniform, and a clean job site when we leave.
Frequently Asked Questions
Run the full maintenance checklist every six months, or every three to four months if you live within five miles of the coast, where salt and marine-layer moisture accelerate corrosion. Inland areas like Pasadena and the San Fernando Valley can stick to the six-month schedule. Call (213) 996-0290 if you want a professional once-over on a schedule that fits your location.
DIY maintenance runs about $15 – $30 for the right lubricant and rags. A professional maintenance visit in Los Angeles typically runs $75 – $150 depending on the age of the door and how many parts need cleaning, adjustment, or lubrication. Bramwell Garage Doors Los Angeles provides a written price before any work starts, so the number on the invoice matches the number you heard. Call (213) 996-0290 for a free estimate.
No. WD-40 is a solvent, not a lubricant, and it strips the protective coating on torsion springs, which accelerates rust. Use white lithium grease or a silicone-based garage door lubricant on rollers, hinges, and the opener rail, and use nothing at all on the springs. If your door has already been sprayed with the wrong product, a technician can assess the damage.
A broken torsion spring shows a visible gap in the coil, usually about two inches wide, often near the center or at one end. The door will be very heavy or impossible to lift manually, and you may hear a loud bang when it broke. Spring replacement in Los Angeles typically runs $150 – $280 for a torsion spring pair, parts and labor included, and the work is covered by the 365-Day Done Right Promise. Call (213) 996-0290 for a quote.
No. Bramwell Garage Doors Los Angeles works to the Kingswell standard: a written price is provided before any work begins, and that’s the price you pay. If the technician finds something else that needs attention, they’ll explain it and write a separate line item for your approval before touching it. There are no door-step price changes. Call (213) 996-0290 and a live person answers 24/7.
You can inspect springs yourself, but you should never adjust, wind, or replace them. Springs are under extreme tension and are the one garage door component that can cause severe injury if mishandled. If your inspection shows a gap, a crack, or heavy rust, call a professional. The team at Bramwell Garage Doors Los Angeles home carries a full range of torsion and extension springs for same-day replacement in most cases.
The Bottom Line
A garage door that’s maintained on the right schedule with the right products is a door that lasts significantly longer in Los Angeles, whether you’re in the salt air of Culver City or the dry heat of Pasadena. The core checklist comes down to seven parts, run twice a year: inspect the springs, check the cables, clean and lubricate the rollers and hinges, service the opener rail, test the limit switch, verify the safety sensors, and check the bottom seal. Skip the WD-40, know what the balance test actually tells you, and never touch a spring or cable yourself. When a part is headed toward failure, a trained technician can catch it early and fix it for a fraction of what a breakdown costs; explore more guides & resources to keep your door running smoothly. Bramwell Garage Doors Los Angeles provides a written price before every job and a 365-Day Done Right Promise on every repair. Call (213) 996-0290 for a free estimate, any time.
Written by Marcus Ellery, Owner at Bramwell Garage Doors Los Angeles, serving Los Angeles since 2001.
See the difference
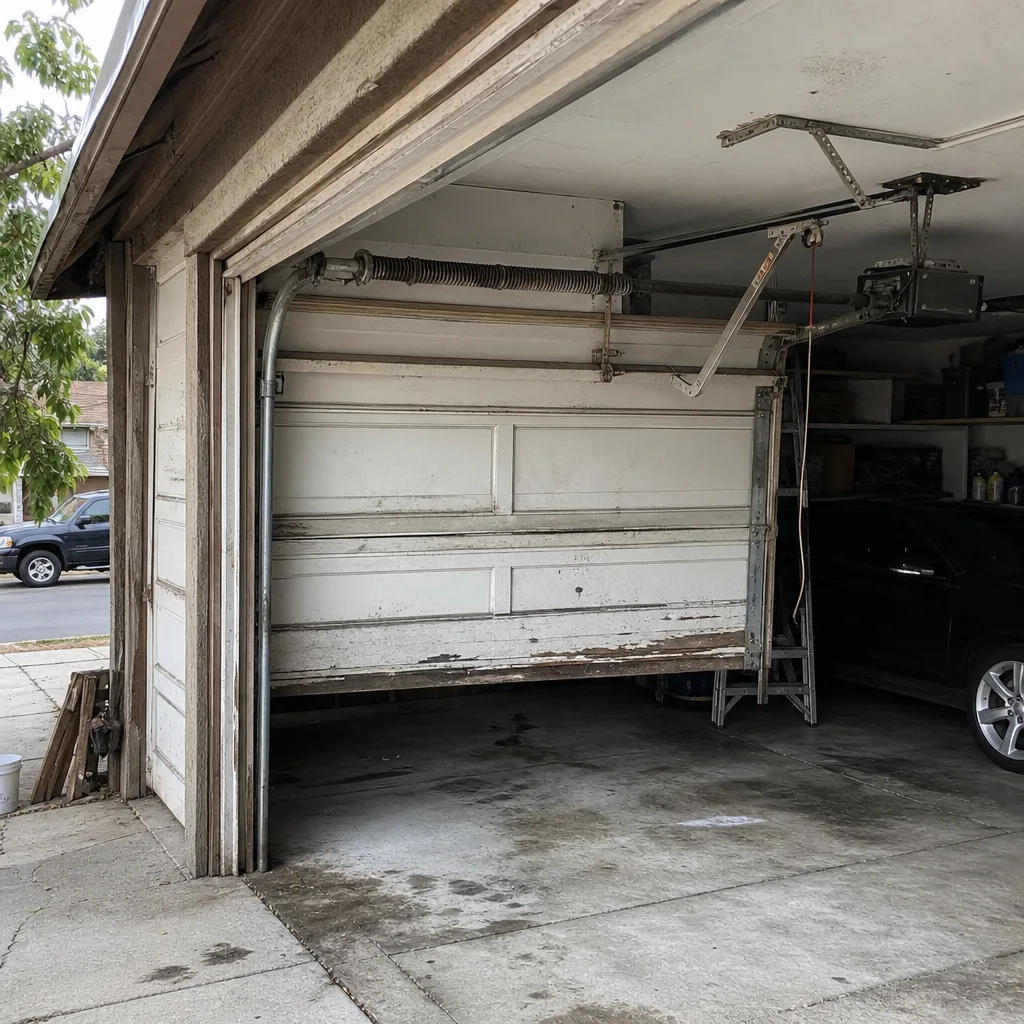 Before
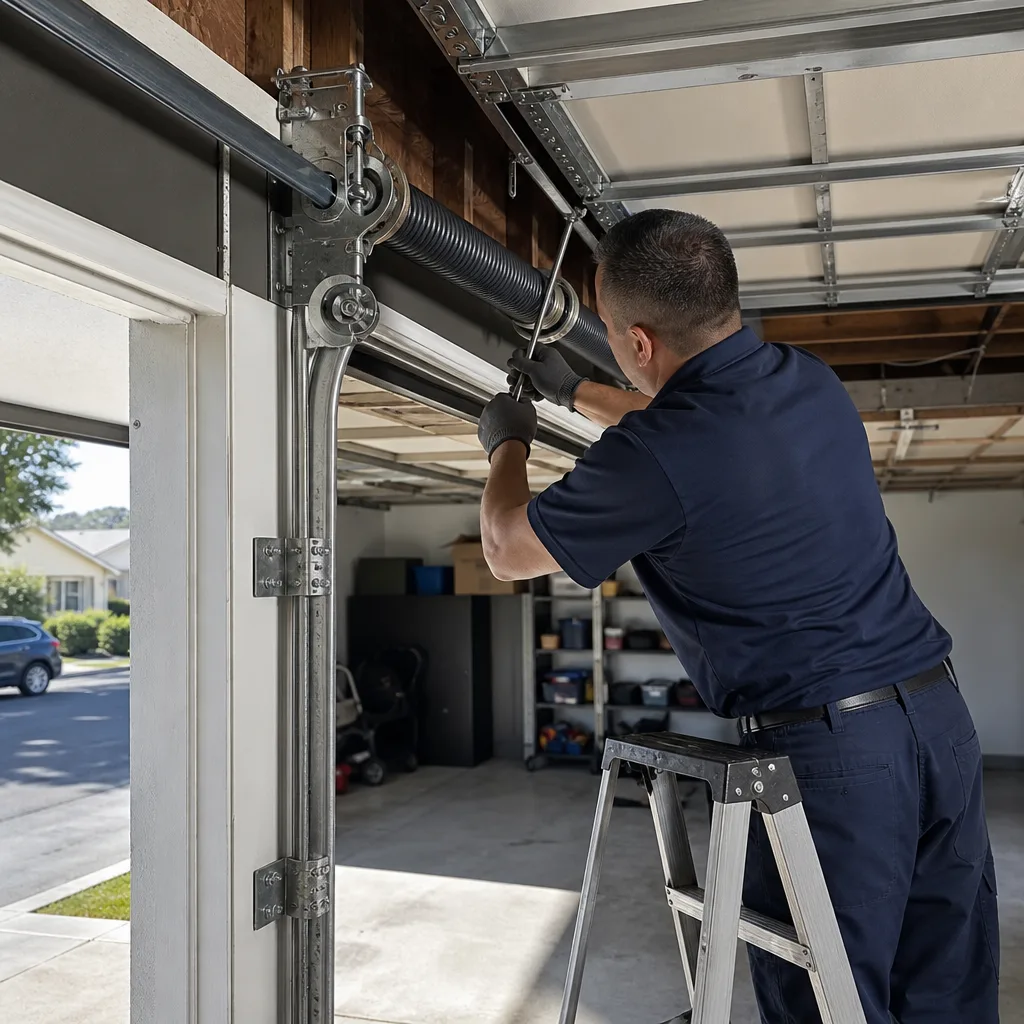 After
After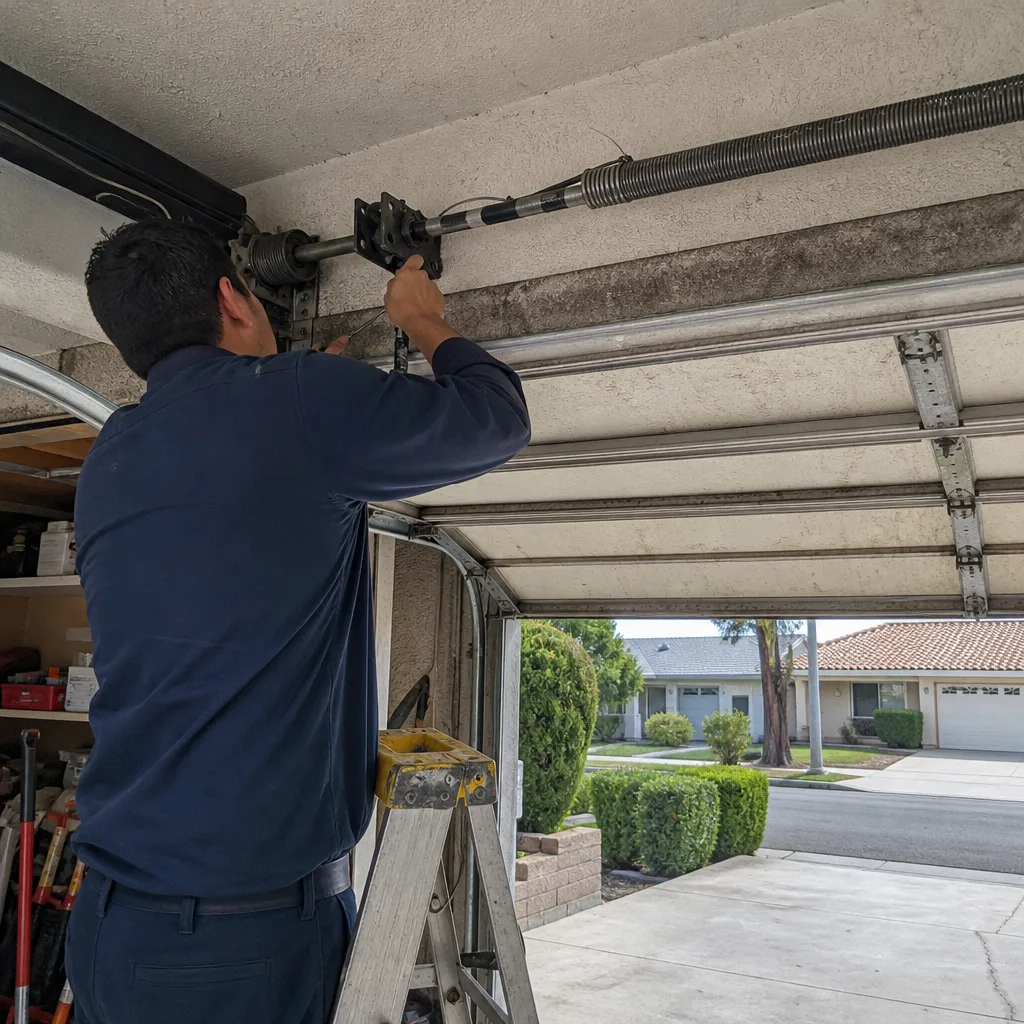 Before
 After
After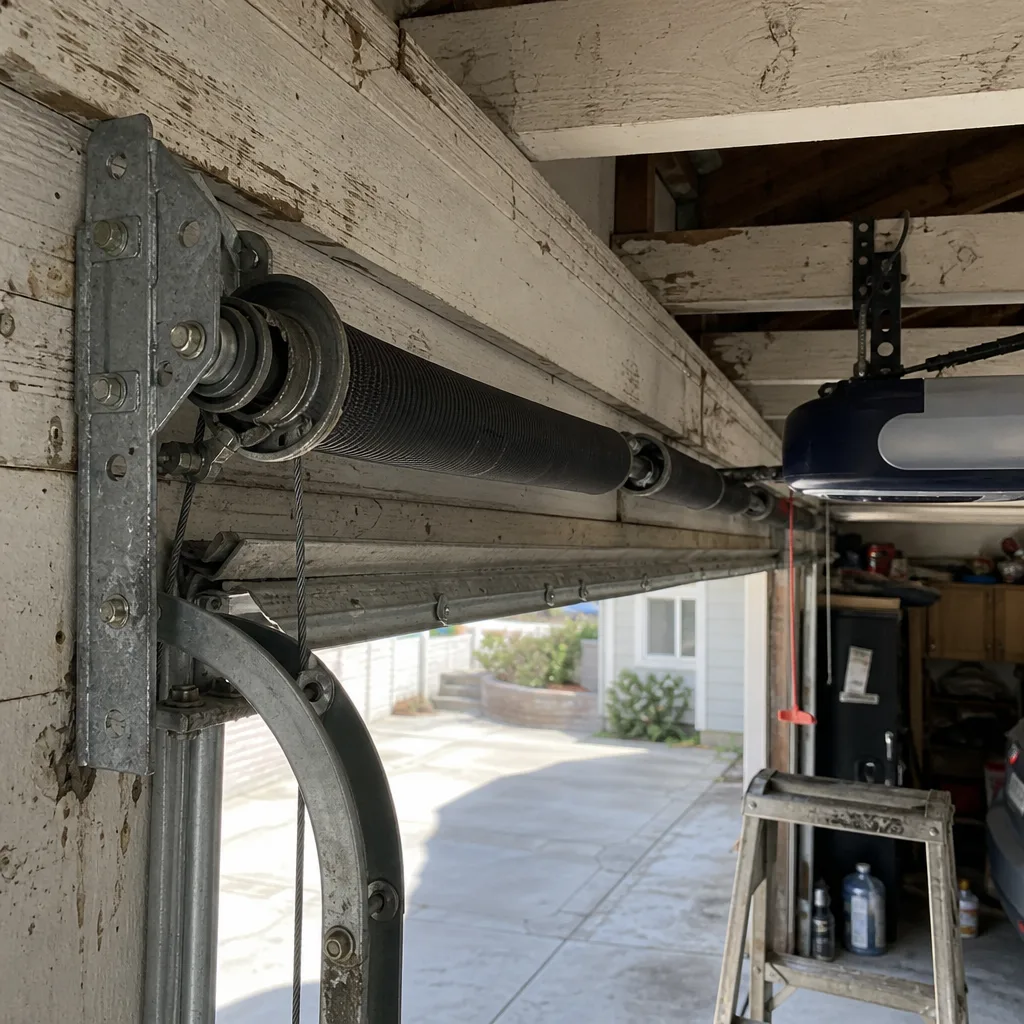 Before
 After
After